After finishing the development of my current project, I started on the final task – building the installers. The Mac process was relatively painless but the Windows process was another story altogether. I came up with a workable solution, after a lot of trial and error, aided by some good blog posts here and here.
Caveat: This approach relies on Exe4j – a commercial product, but you can work with the free demo version. A standard license is 69 USD, and no, I don’t work there.
The Goal
Create an Windows 8+ installer for my JavaFX demo app 3 with:
- an embedded JDK11+ custom runtime (and therefore using Java 9 modules)
- Ability to package non-modular java applications
- An executable that behaves like a Windows application
- the usual installation features
- No expensive installer tool licenses
- Uninstall capability
The Process At a Glance
Below is the process for Windows and Mac. I will talk about the Windows process in this post. For the Mac process shown below, the java packager used is a backport provided by Gluon that works with JDK 11 onwards.

I will discuss the Windows process split into 5 steps:
- Define the installation directory
- Build the jar and add dependencies
- Create the install image
- Create the executable
- Create the installer
Setup
- Windows 10
- JDK 11 or 12
- Exe4j 8.0 demo version installed (free download)
- Innosetup 6 installed (free download)
- local clone of https://github.com/SergeMerzliakov/javafx-app-1
Step 1 – Define the installation directory
Nothing needs to be done here, just a description of the planned install directory for the installation process:

When the install image is ready, (installBuild directory) it will look like this:
- lib/ – All the jars are placed here
- jre/- The custom java runtime
- javafx-app-1-1.0.0.jar – application jar file
- JavaFxApp1.exe – executable
After installation on another machine, the install will also have this structure.
This will be created in the root of javafx-app-1 repository in the installBuild directory.
Step 2 – Build the jar and add dependencies
This stage uses gradlew tasks to build and package the entire repo (applications 1,2 and 3) which is cheating a bit, but simplifies the explanation. We will only start app3 in the final install executable.
So, run the following tasks in javafx-app-1 project root directory. They are nothing special:
gradlew jar
gradlew collateInstall
This will result in the following directory structure:

I prefer having the application jar file sitting on its own, rather than with the other jar files.
Step 3 – Create the Install Image
We now need to add the embedded custom java runtime to the installBuild directory. After this stage is completed, the installBuild directory should have everything required to start the application.
Step 3a – Find Modules Dependencies
We need to get a list of java 9 modules that the application and it’s dependencies use. This can be done with the JDK jdeps utility. I have wrapped this in the gradle task called listModules. When you run this task the output is a bit messy, and you need to ‘pick out’ the modules from the list
When you run:
gradlew listModules
You will get output as shown below (red highlights are mine). The highlighted modules will be needed for the next step. Since this is a dependency graph, you just traverse each entry from left to right until you hit a JDK module not on your mental list. Tag it red and continue. At the end add all the red modules to the dependencies.txt file. Since my app is a non-modular one, I suspect that is why the output is not a single, tidy list of modules.

Step 3b – Update dependencies.txt
The file dependencies.txt in the repo root directory contains a list of dependencies. It is used as input to the next step. I put it in a file for simplicity, as parsing the jdeps output is a manual process for now.
So I added all the red modules (excluding java.base as that is an implied dependency of all modules) from previous step into dependencies.txt – you don’t need to. It is a single line of text:
java.xml,java.desktop,java.scripting,java.logging,javafx.base,javafx.graphics,javafx.controls,javafx.fxml
Step 3c – Generate the Custom Java Runtime
To generate a custom java runtime, we use the JDK jlink tool. It requires a list of modules your application requires and can even generate a launcher script. I have wrapped the jlink call into the buildRuntime task. This task puts the runtime into the installBuild/jre directory.
run it from the git repository root directory:
gradlew buildRuntime
After it’s done, that’s it – nothing more to do, other than to test it. You need to make sure you did not miss any modules.
The installBuild directory should now look like this:

Step 3d – Test Install Image
At this stage, the installBuild directory should have every thing required to run the application – completely standalone and at 45MB, a lot smaller than the full JDK.
Create a script like the following Windows batch command in the repository root directory:
installBuild\jre\bin\java.exe -cp installBuild/javafx-app-1-1.0.0.jar;installBuild/lib/* org.epistatic.app3.Main
when you run this script, it should start the application.
Step 4 – Create the Executable
Now that the application is ready, we want to create a proper Windows executable. There are several ways of doing this:
- Tools like launch4j, exe4j
- Java Packager (Windows backport for JDK 11 here)
- Write your own Java Launcher (an ancient, but useful article here)
After some experimentation, I chose Exe4j because it was inexpensive, and supported Java 9 modules. Java packager worked but was hard to configure (on Windows only – the Mac version works well) and the generated runtime and directory structure was messy, IMHO. I may try again with Java packager on Windows in the near future – maybe I missed something. Writing your own Java Launcher was only a consideration before I discovered Exe4j (distinct from the considerably more expensive Install4j), and found some old C code that looked like a feasible starting point.
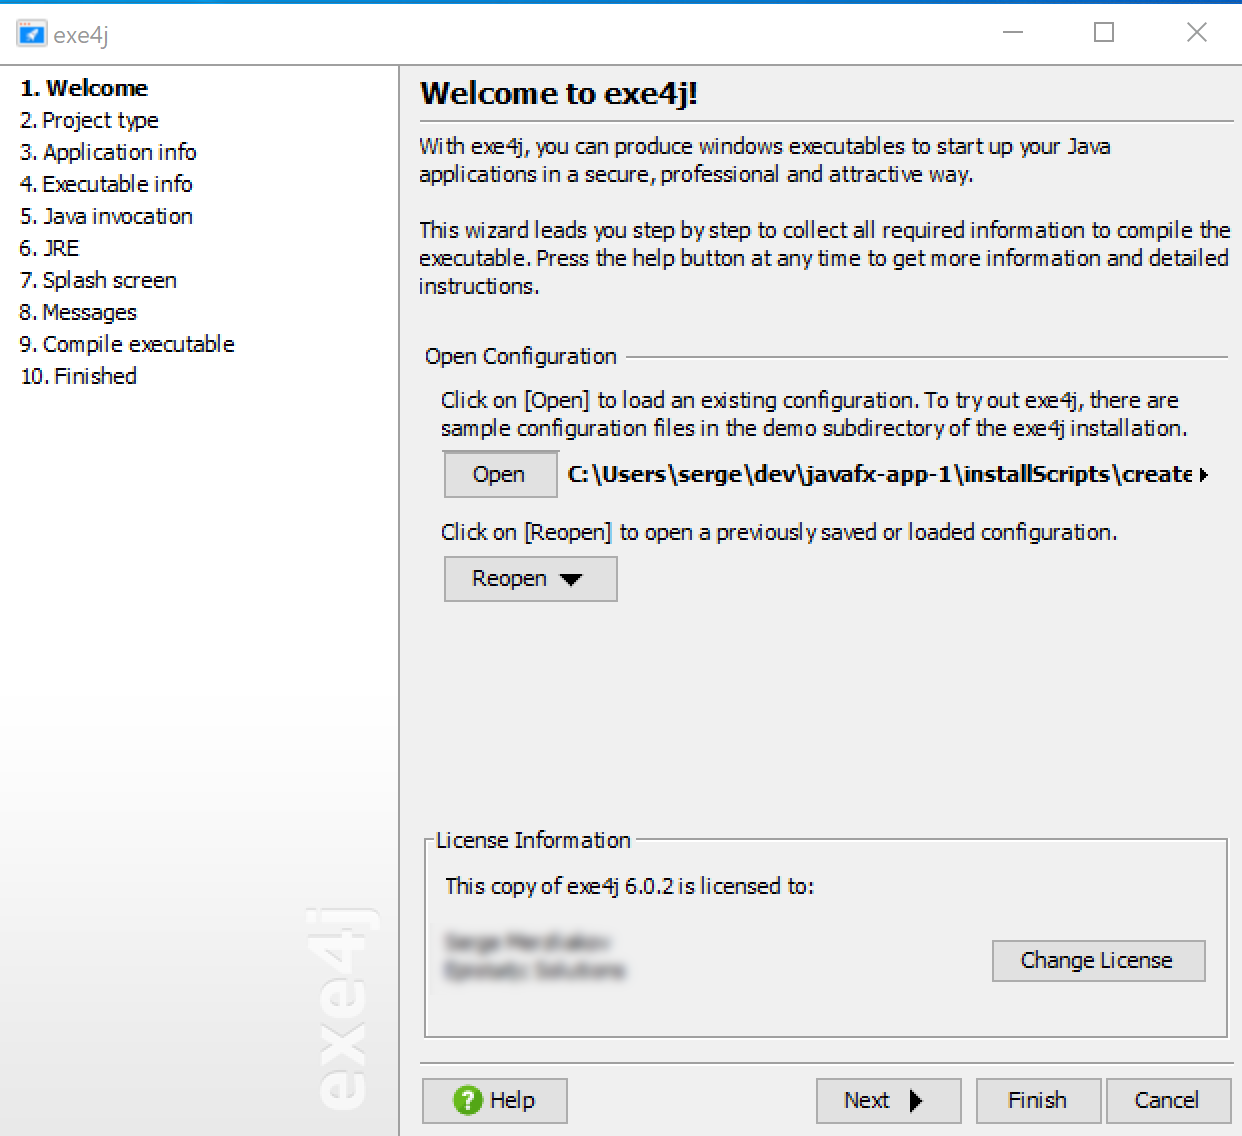
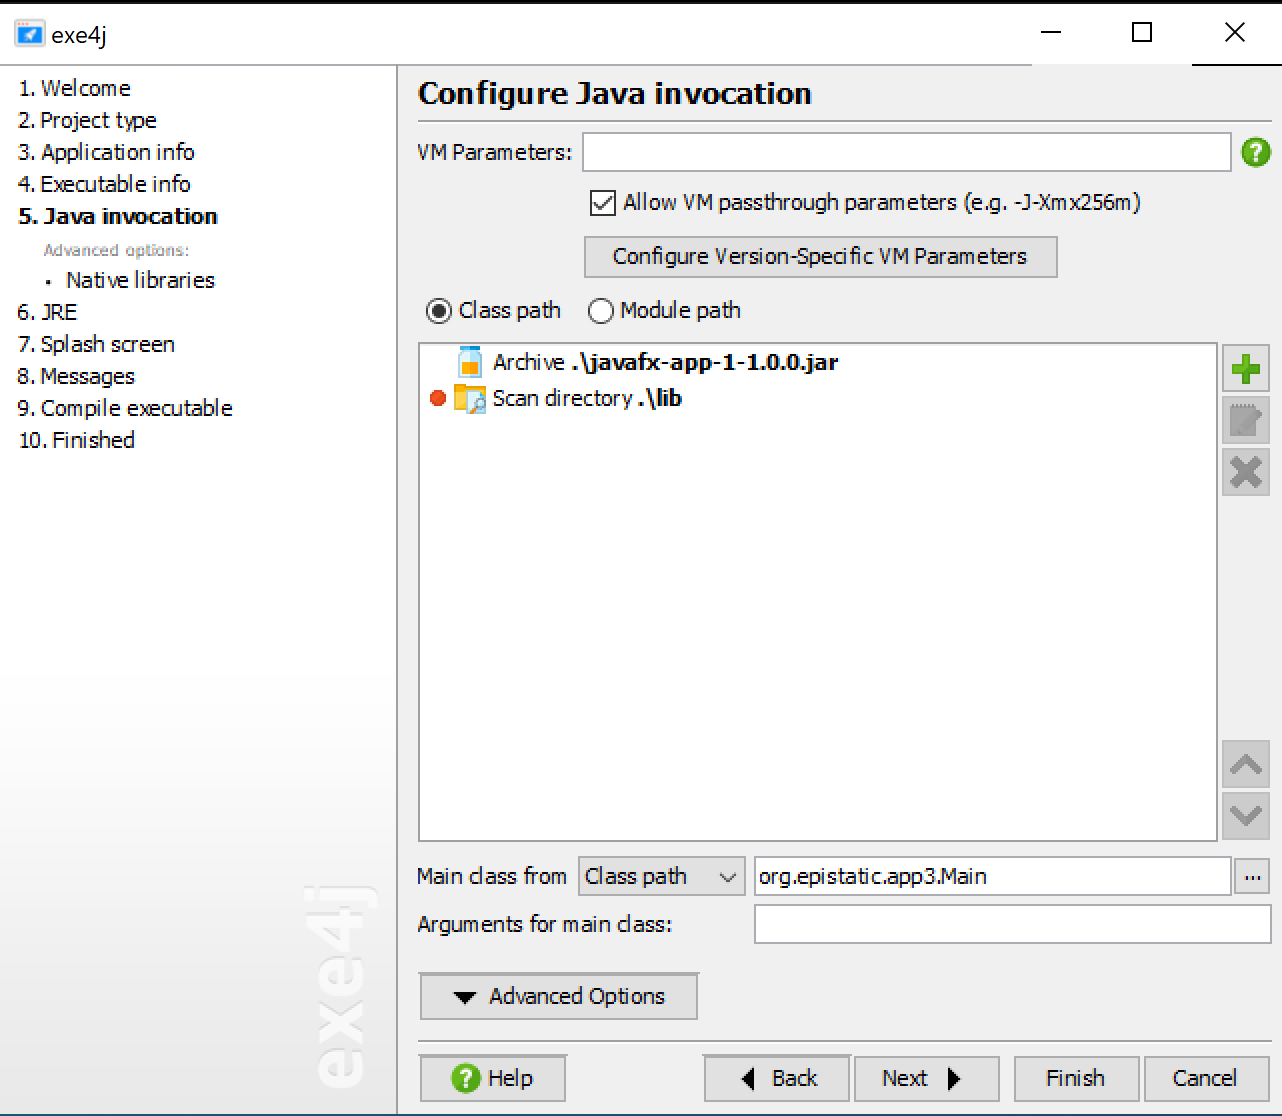
I have created an Exe4j configuration file which you open with Exe4J and then generate the executable. It’s pretty easy and I got it working after only a small amount of trial and error. The key issue is to make all the paths relative to the exe4j file, making it portable.


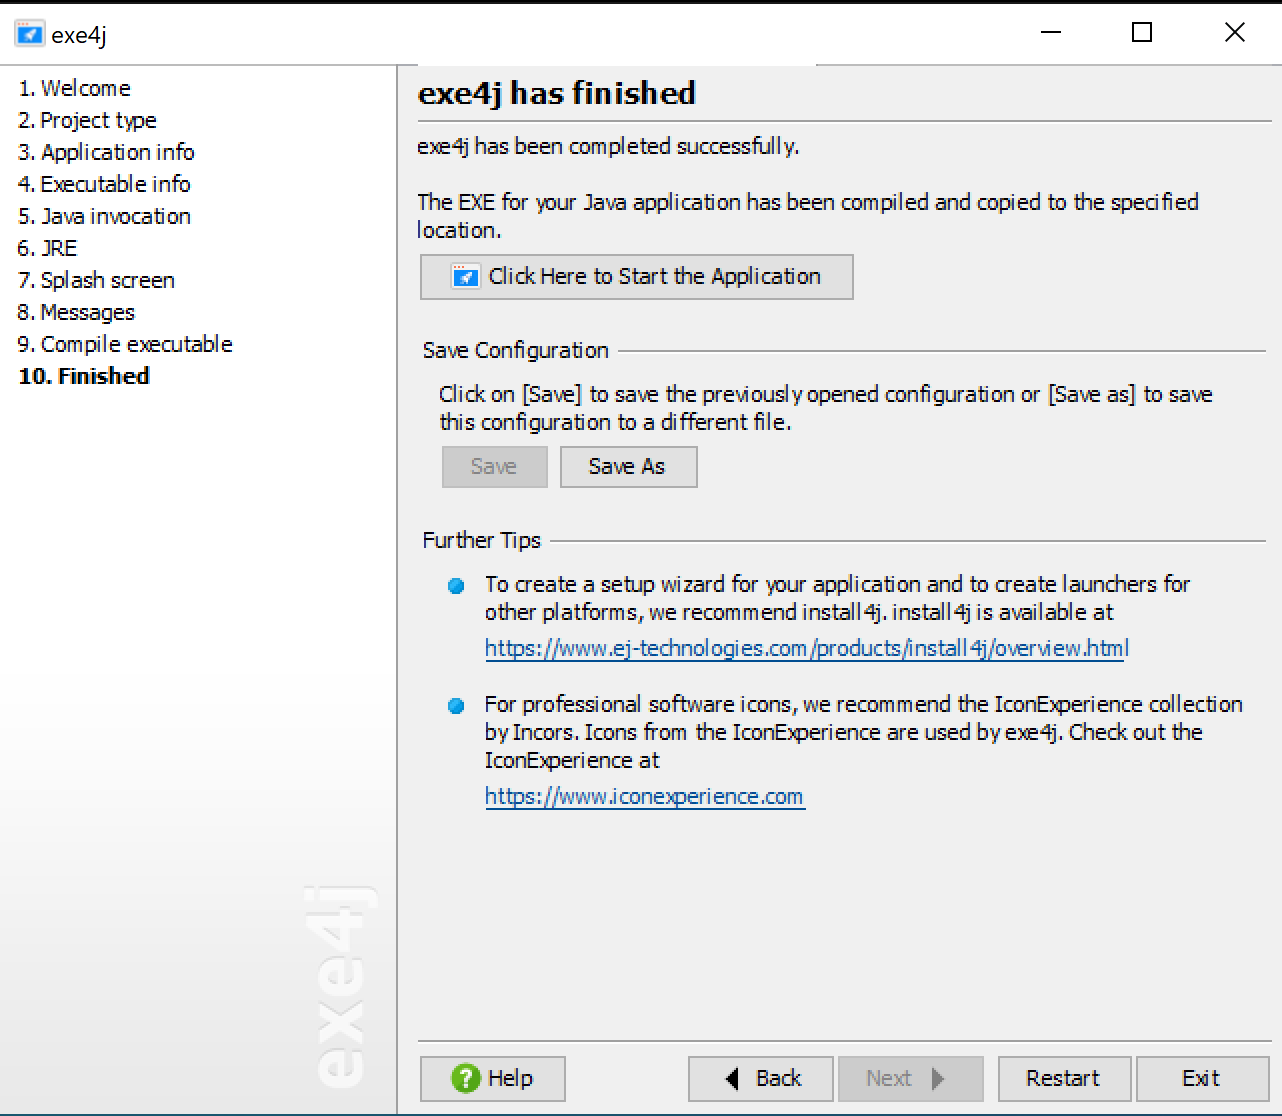
Once you generate the executable (Step 9 in the Exe4J tool), your installBuild directory should now look like this:

Step 5 – Create the installer
The final step is to now create the installer. This will be done using Innosetup, a free windows tool for creator. Innosetup was the third or fourth installer tool I have used over the years and I found it wonderfully easy to use. I finished the installation in about an hour, which is astounding for a newbie. I take no credit for brilliance – all kudos goes to the tool. I was so impressed I donated some money to the project two minutes after I finished.
The Innosetup script is very brief:

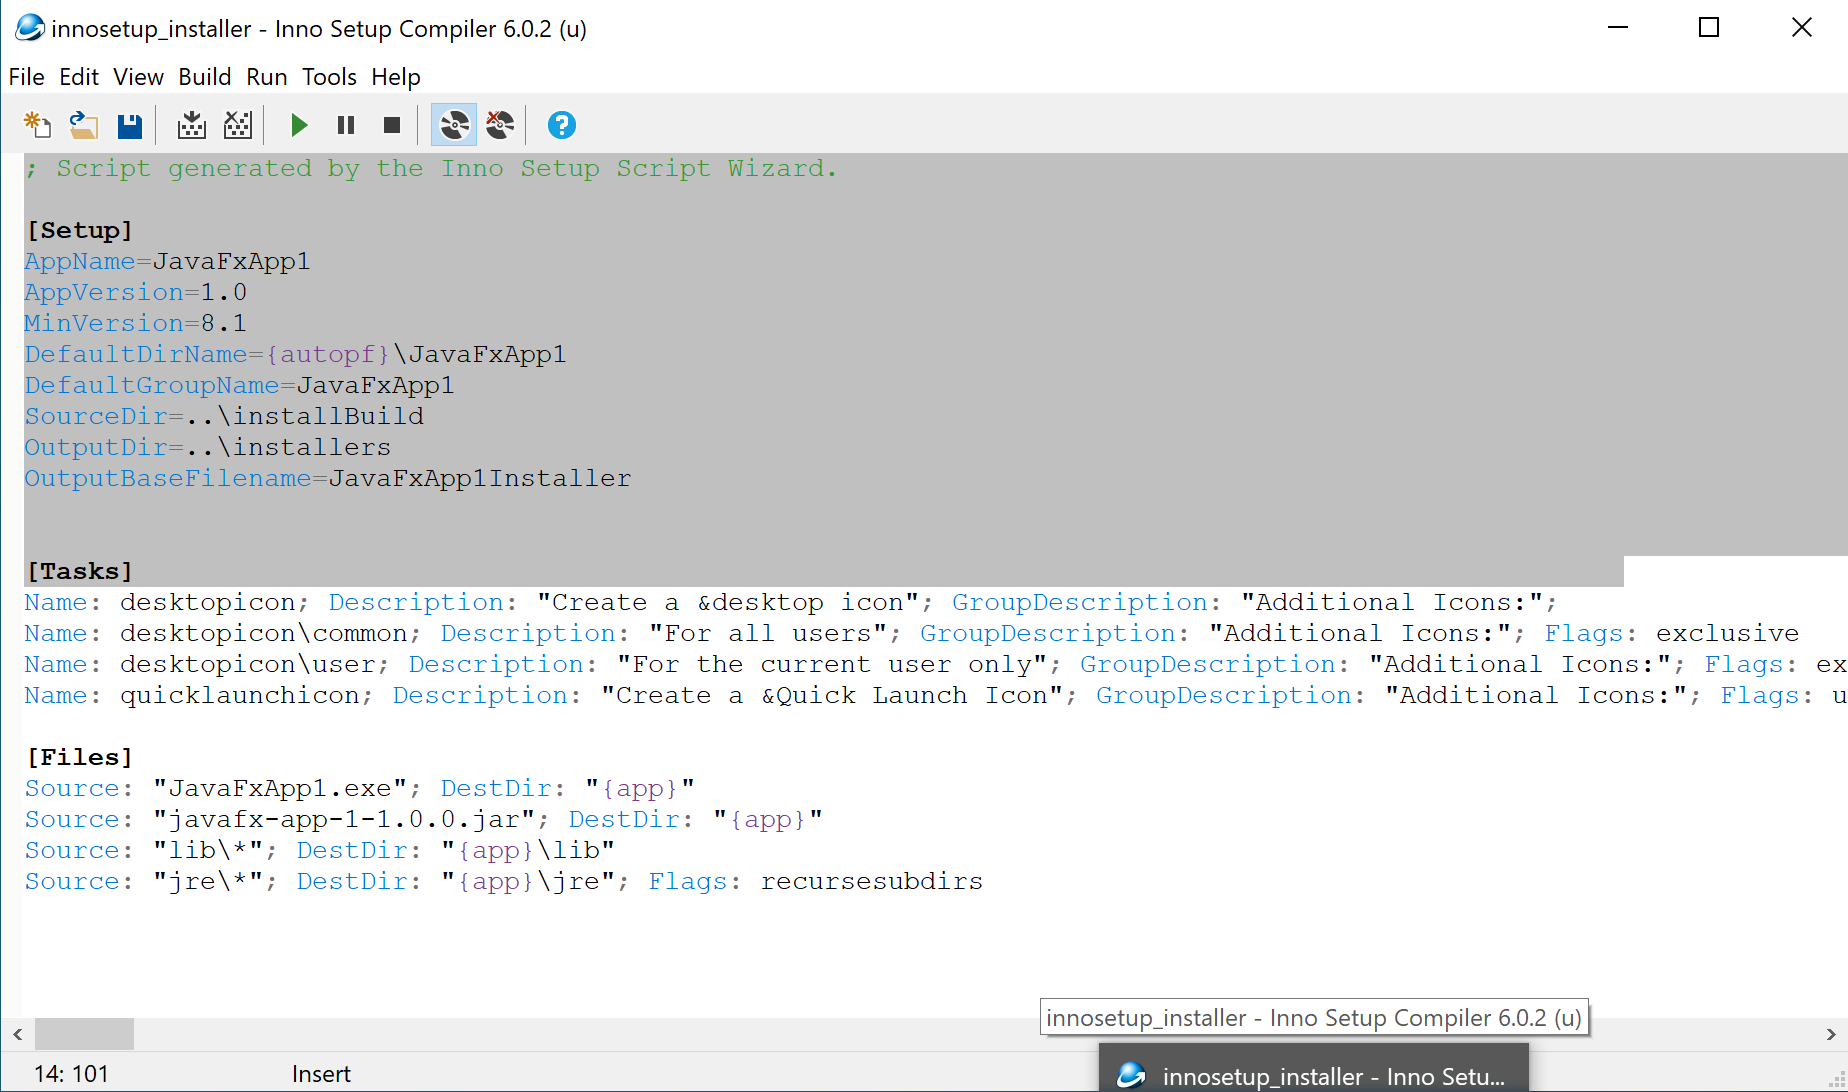
Creating the installer was very simple in Innosetup. Click the generate button and it’s done. The installer is created in the installers directory.

And that’s it. All done.
More to Do
Innosetup supports the Windows signtool, which is necessary to sign your application with Microsoft certificates, proving your application comes from a valid software vendor (similar to the signing process with Apple’s Developer program). The installer above does not have this setup.
Also, the application we have packaged does not have any configuration, but any real application most likely will have. This would need to be installed, preserved between upgrades, and should be removable as well.
Finally, the process of upgrading older software versions may need to be handled differently, as the installer above overwrites any previous install.
